Screen sharing 101
Welcome to our how-to hub all about screen sharing and how it can improve your presentation experience. Over the course of this series, we'll be your guides as we explore the core functionalities of screen sharing.
Our aim is to assist you in easily establishing connections, managing teacher controls, and engaging in collaborative efforts with your students. Ensuring you have the technology and skill set to elevate your lessons.
Our first video looks at the different ways teachers and students can connect to a session.
Key takeaways
01:05
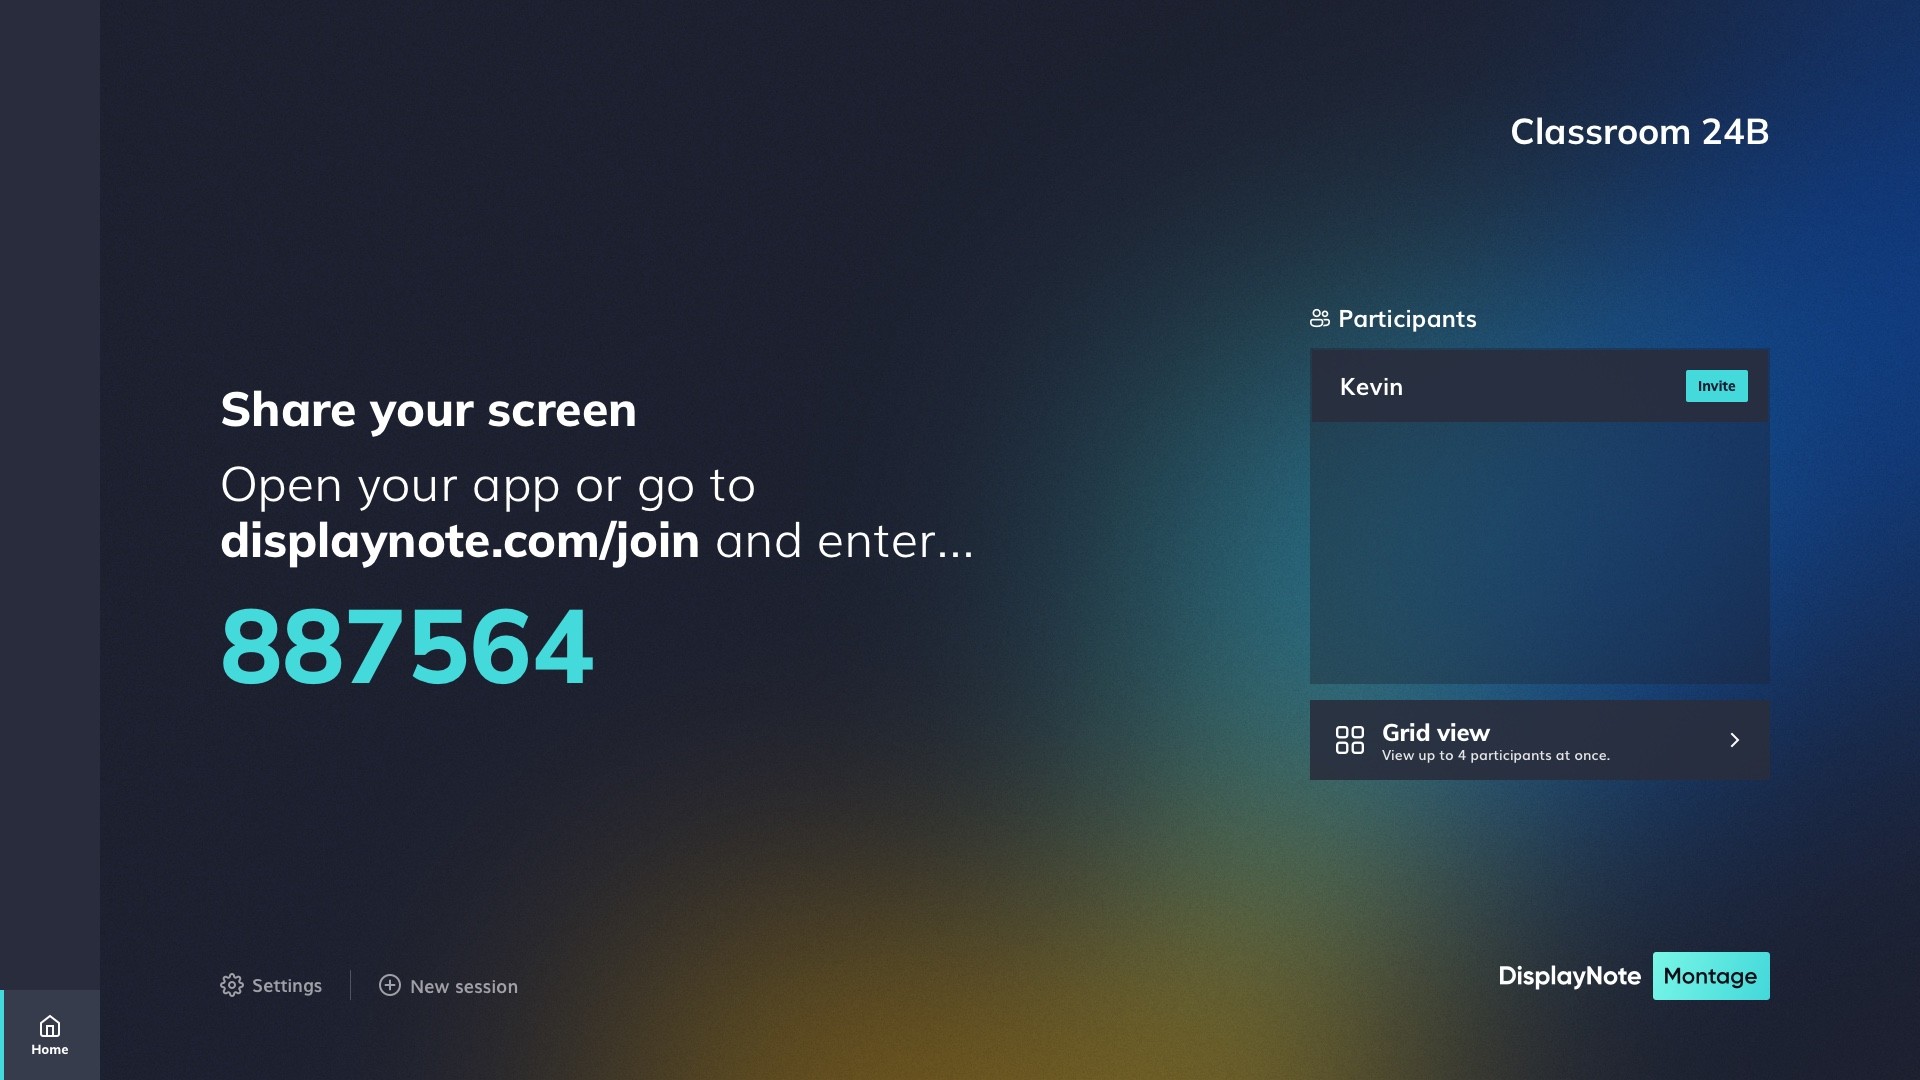
An important aspect of the home screen is the joining instructions and Session ID. Sharing this with students you want to connect to the session. While Lobby view will show you who has connected.
A 10-digit Session ID indicates that either 'Local connections only' has been enabled in the Settings, or that you may be experiencing connection or network interruptions.
03:15
Our first of two main joining methods is via a web browser. Head to www.displaynote.com/join and bookmark the page for quick access. Joining via a browser means no app installation and offers the presenter the option to share a tab, window, or whole screen view.
04:10
Our second main joining method is via the desktop app. Found at www.displaynote.com/join, options are available for Windows, Mac, or one-time Guests. Joining via the app offers touchback control as well as annotation tools from the main display or device.
Helpful videos on how to join using iOS or Android apps; or via AirPlay, Google Cast, or Miracast can be found on our YouTube channel.
Episode 2 centers around the teacher controls, what these settings can offer and how that will change the user experience.
Key takeaways
01:15
When Moderator Mode is turned off, anyone connected to the session can share their screen at any time. The share screen button is displayed on any device screen that connects to a session.
To enable this, go to Settings > Session Management and turn on Moderator Mode. This will start a new session and generate a new Session ID.
02:48
When Moderator Mode is turned on, a participant must be selected from the lobby and be invited to share their screen. There is no share screen button displayed on any device connected to a session, a user can only share once they've been selected and invited from the lobby list.
With Moderator Mode on, every participant needs to be invited to present from the main display, except the teacher.
03:45
During a standard session up to 4 participants can connect. This number can be increased by enabling Unlimited Connections from the Settings menu. This allows for whole classroom connection, so all students can join the session.
Unlimited Connections will automatically enable Moderator Mode to ensure that teachers can control who can share their screen.
This video is all about the best ways to share your screen, and what tools are at your disposal when you do.
Key takeaways
00:45
Casting work from a browser allows the participant to share a tab, window or their entire screen. Meaning content can be shared onto the main display while the user works on another tab or window.
This method of casting is best for teachers that want to present from their devices, at a desk, or around the room. Using your device to control what is shared on the main display.
01:55
Casting work from the app is whole screen only, but allows for annotation and touchback controls. So content can be controlled from the main display or the device. Content can be paused from the device using the menu at the top of the screen.
This method of casting works best for teachers that want to present from the front of the classroom or want bi-directional control of the content shared from their device to the main display.
02:50
On the main display, annotation tools can be found by pressing the Menu tab at the bottom left hand of the screen.
For participants casting via the desktop app, annotation tools can be accessed by clicking the Menu tab at the top of their device screen.
Episode 4 looks beyond teacher sharing, to see how this software can be used to connect and collaborate with students.
Key takeaways
00:55
Students can connect to a session and be invited to share their screen, teaching valuable presentation skills. The teacher can close or end a screen sharing from the main display as well as disconnect one student and invite another.
01:45
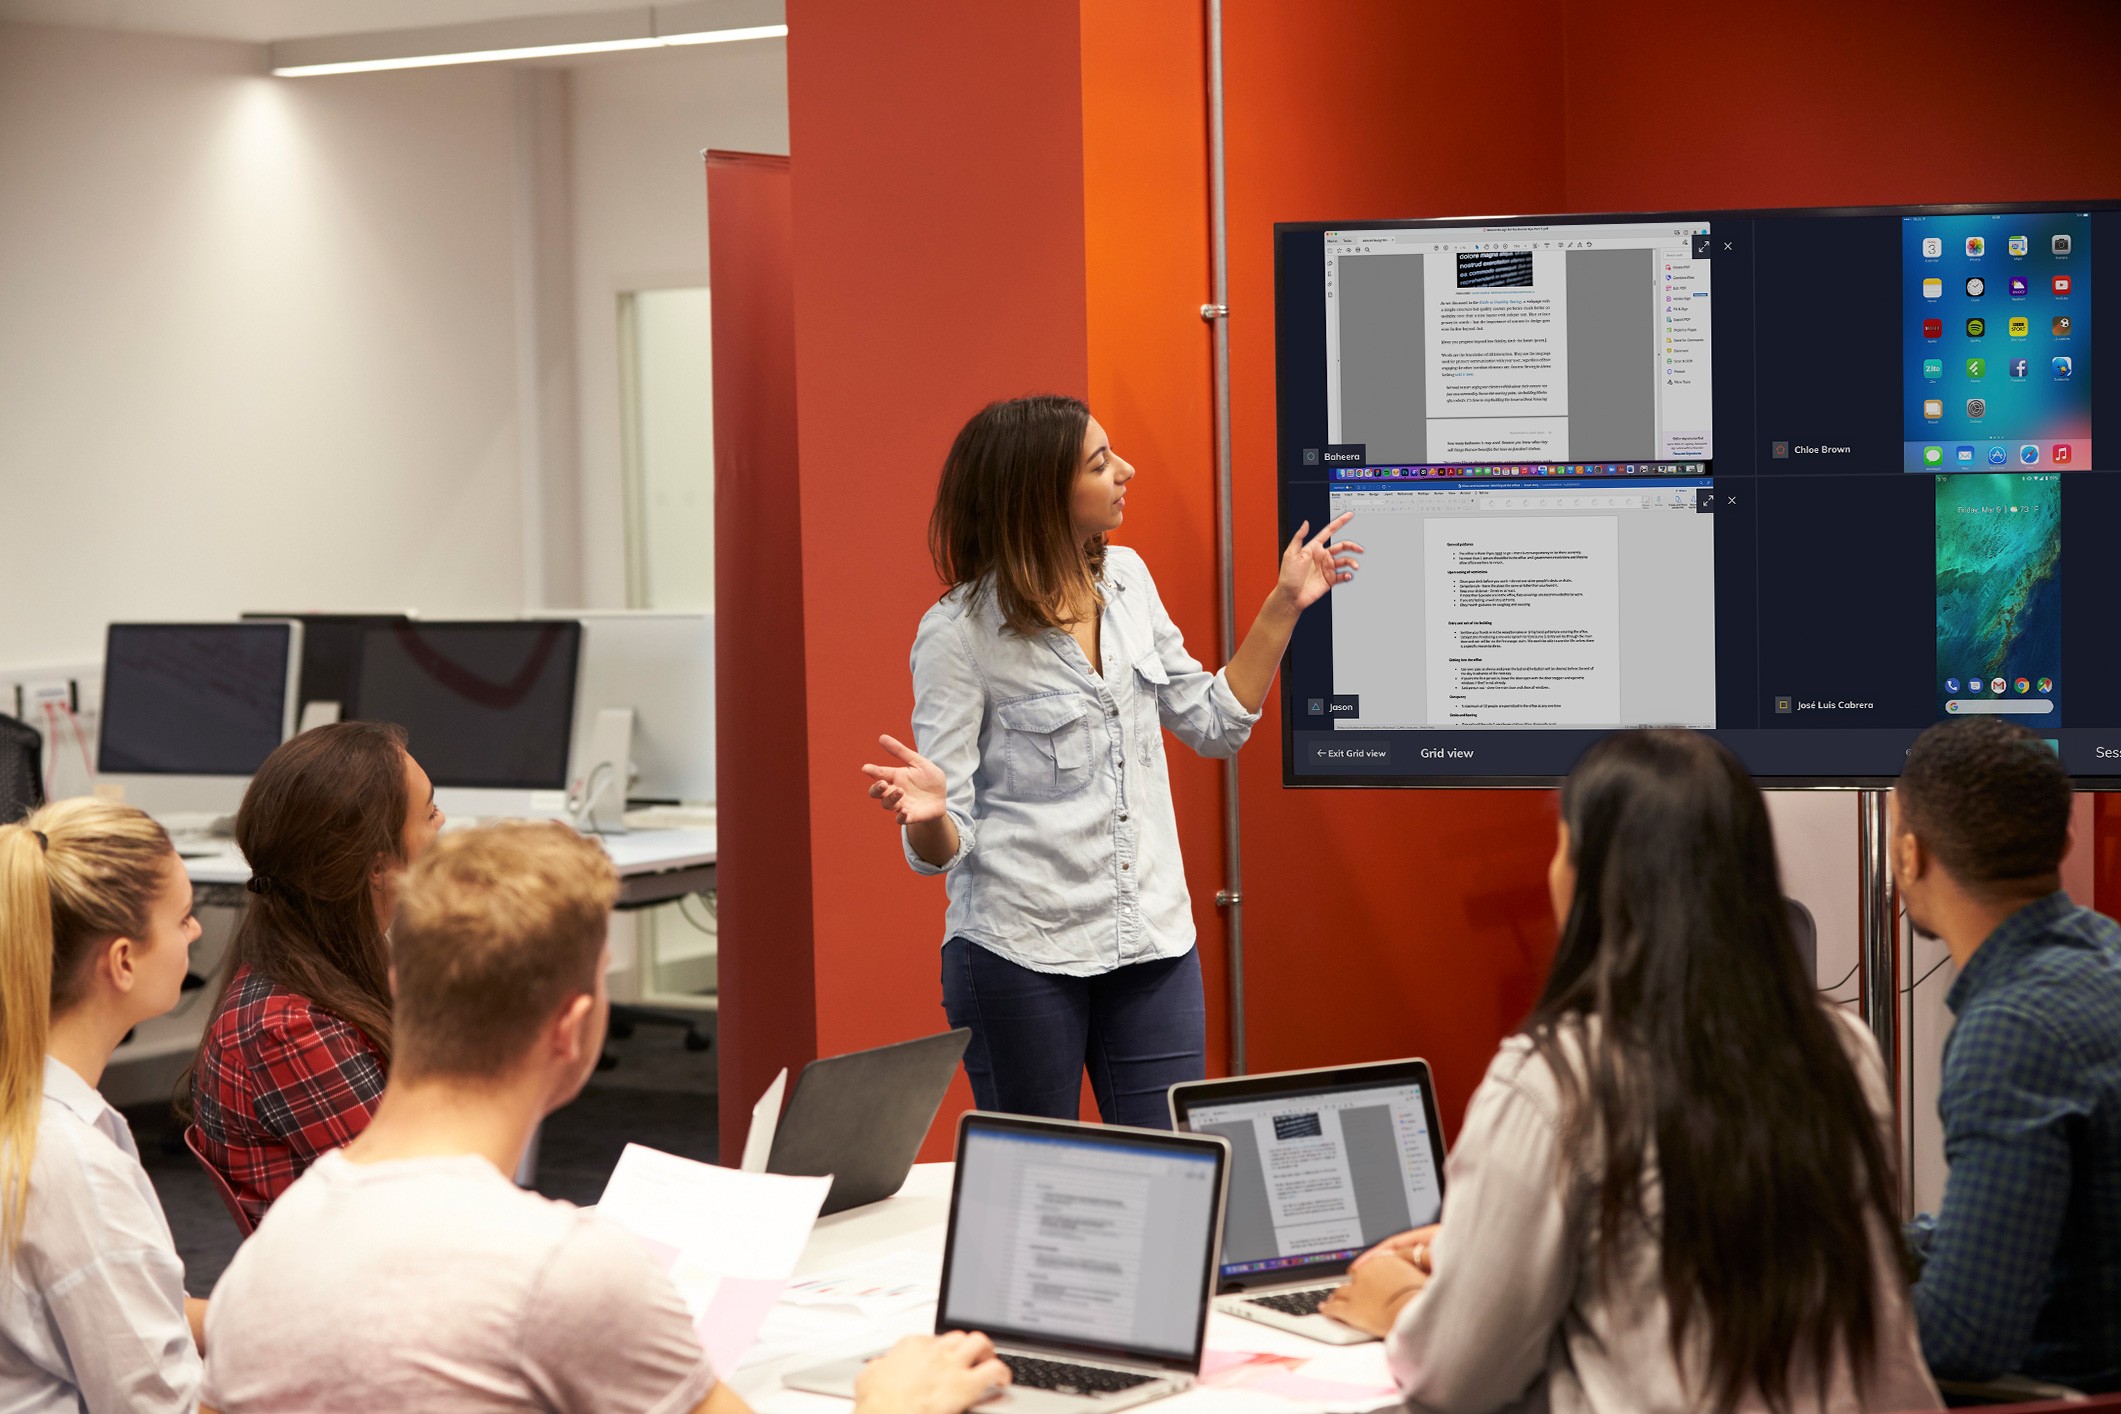
Grid View allows for a teacher to view up to 4 screens at once. Located under the Lobby, Grid View will display the participant list where a teacher can invite multiple students to share their screens.
The teacher can expand, minimize or disconnect any screen from Grid View and the participant will return to the lobby list.
To switch to 9 screen viewing, go to Settings> Session Management and enable Extended Grid.


